Uploading Images
Click the Insert Image button located above the WYSIWYG editor.
A popup box will come up showing all the images and image folders on your site.
You can either drag the image into that insert image popup box or you can click the UPLOAD tab at the top of that popup. Then click the SELECT FILES button to browse for the image on your desktop.
Once uploaded, click the image once and then click the INSERT INTO PAGE button at bottom right of popup box.
Watch our video below to see these things in action:
Aligning Image To The Side Of The Text
If you want to change the settings for an image alignment, perhaps by left aligning an image, you can do so easily.
- Click the image while you are in page edit mode.
- You will see some alignment icons above the image. Choose the one you want and it will align accordingly.
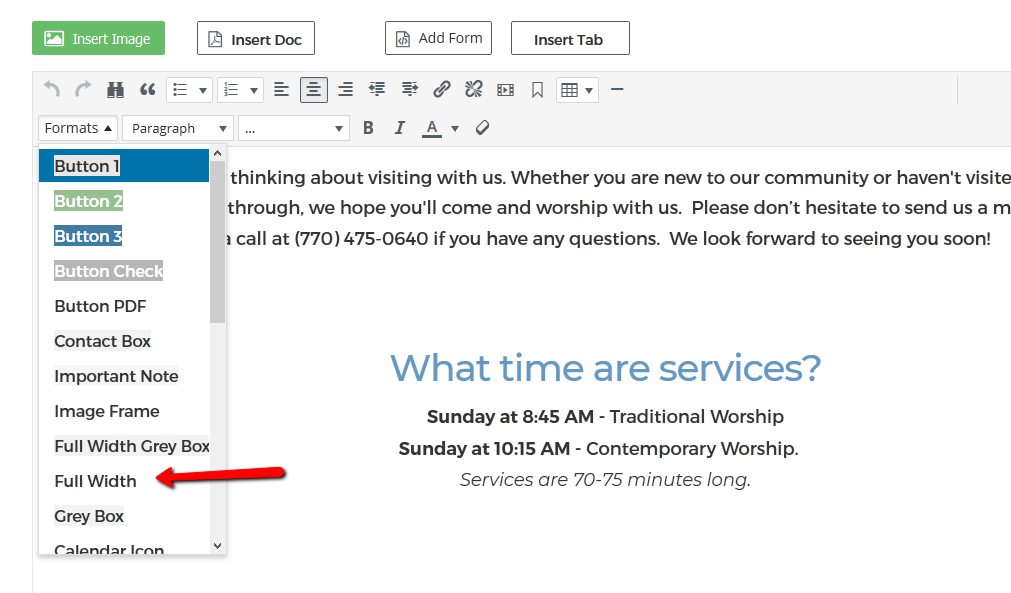
Making Images Full Width of Browser (vs full width of content area)
If you have a wide image that you want to stretch across the browser, you can apply a style to your image to do so.
First, while you are in edit mode for that page, click the image once.
Click on the FORMATS dropdown menu in the editor toolbar, as pictured below.
Choose FULL WIDTH.
When you save the page, you’ll see the image full width.